
Last updated November 4, 2026
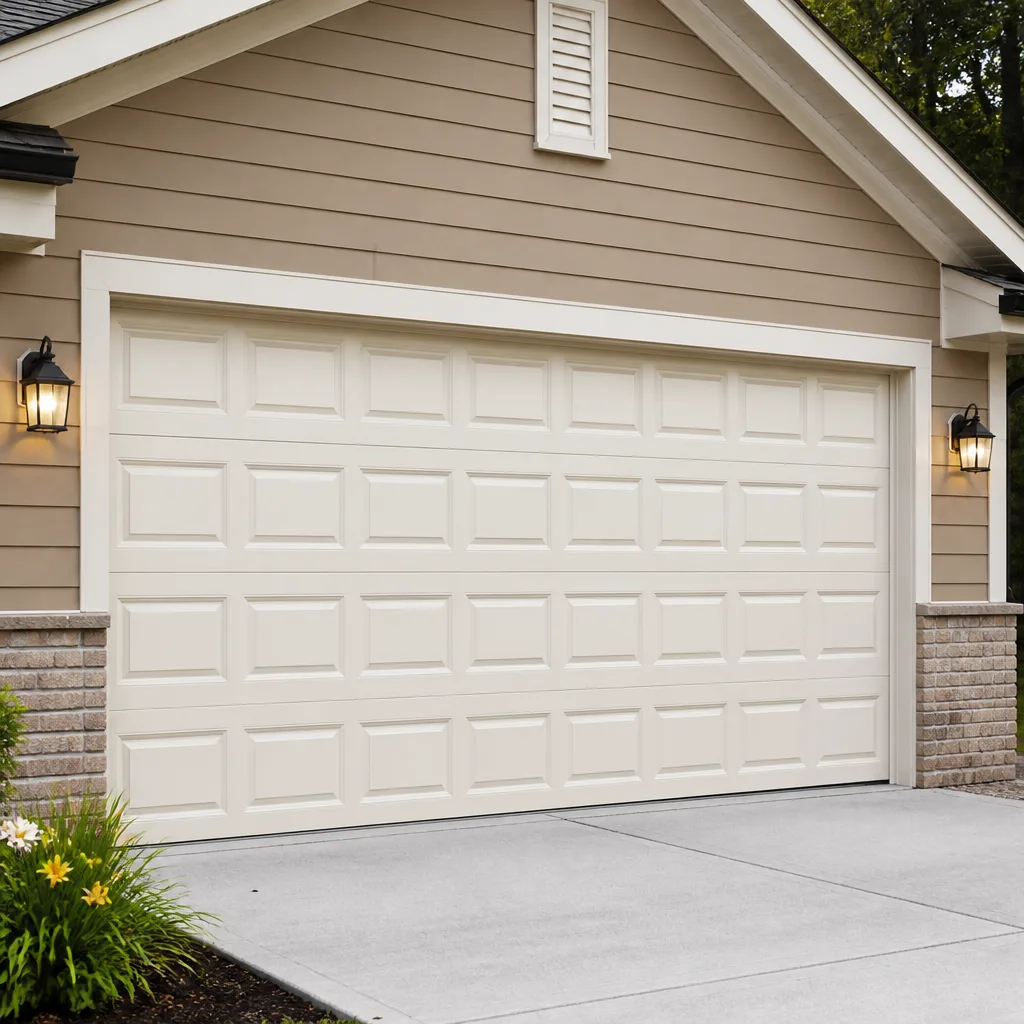 Raised-panel steel
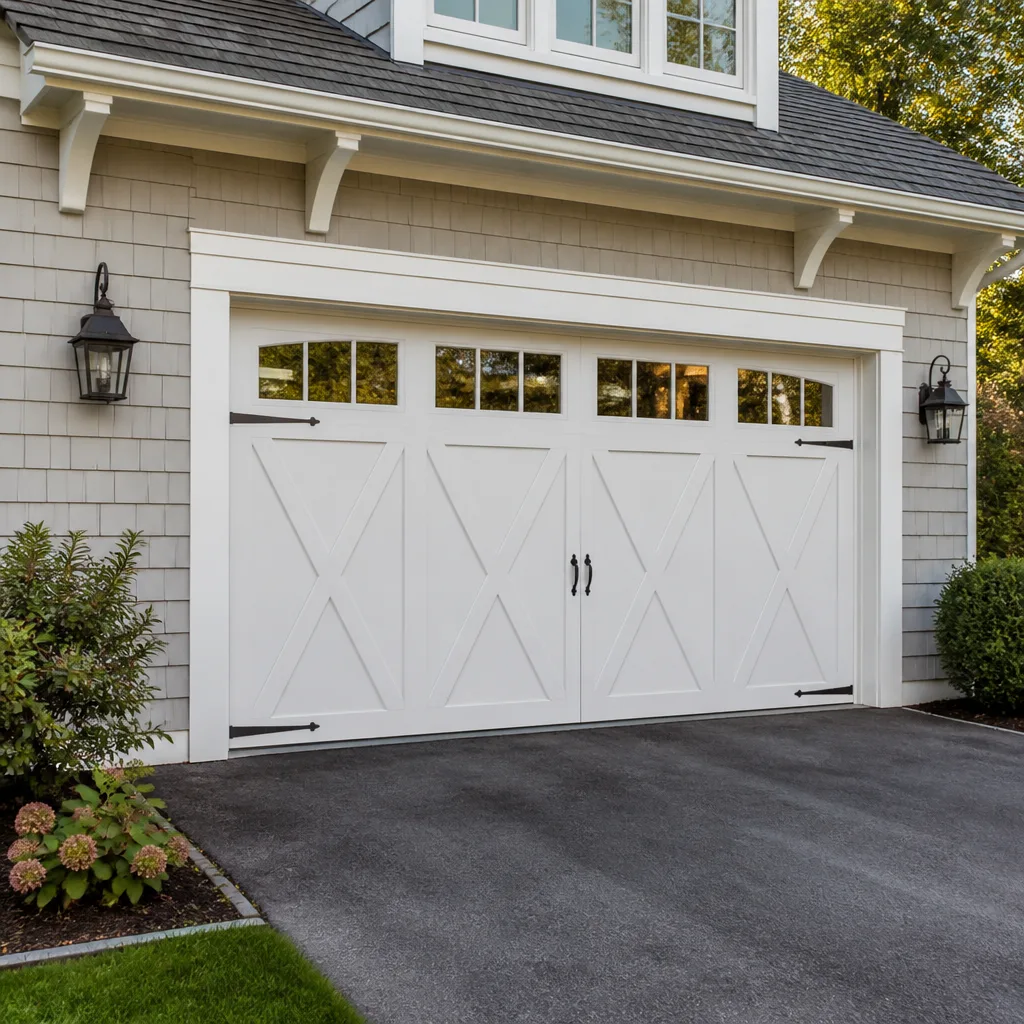 Carriage house
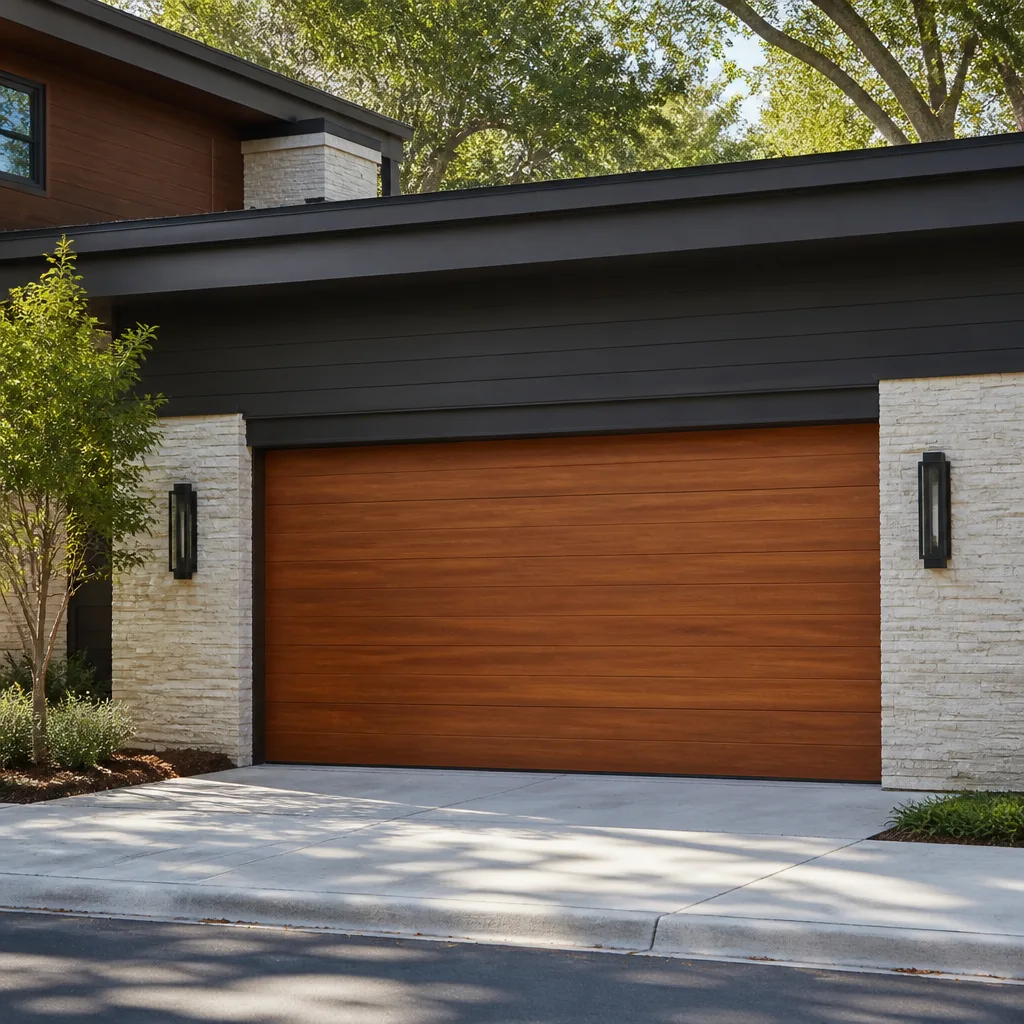 Modern flush
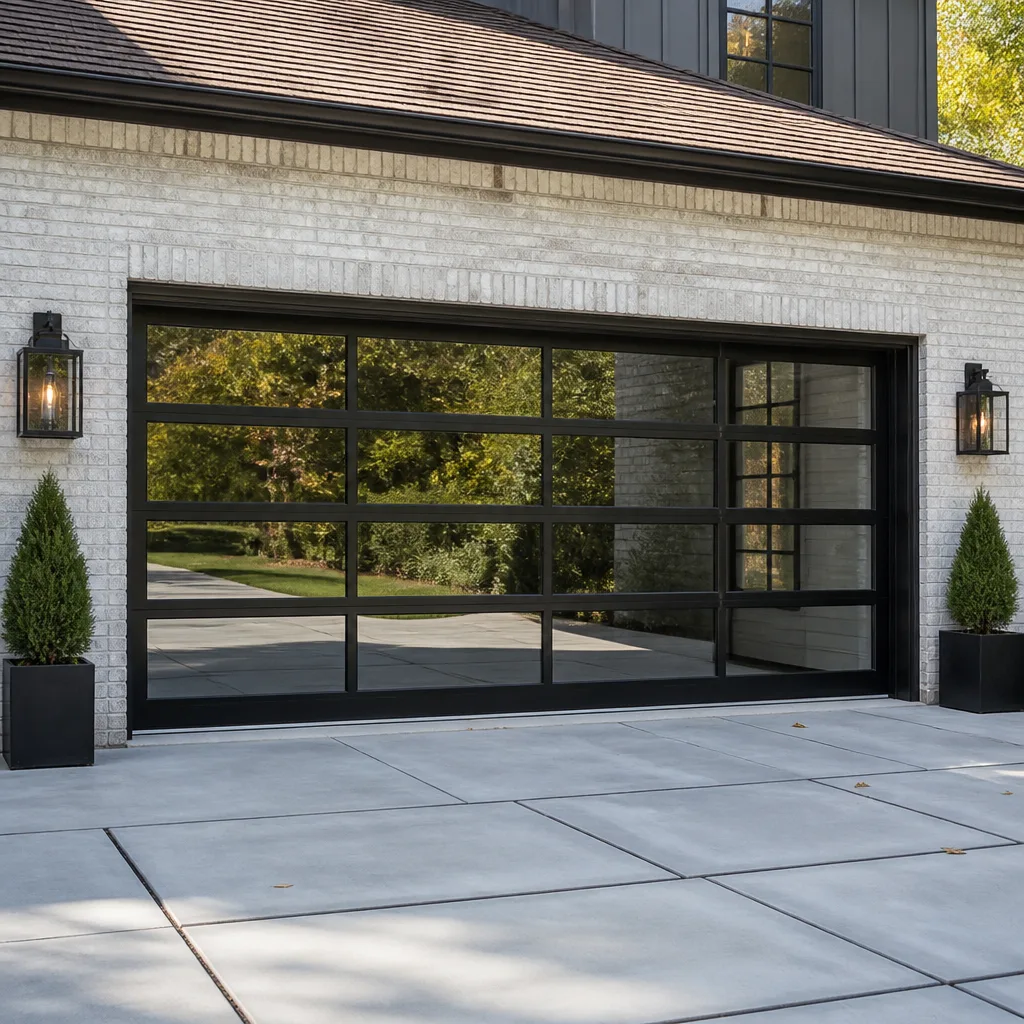 Full-view glass
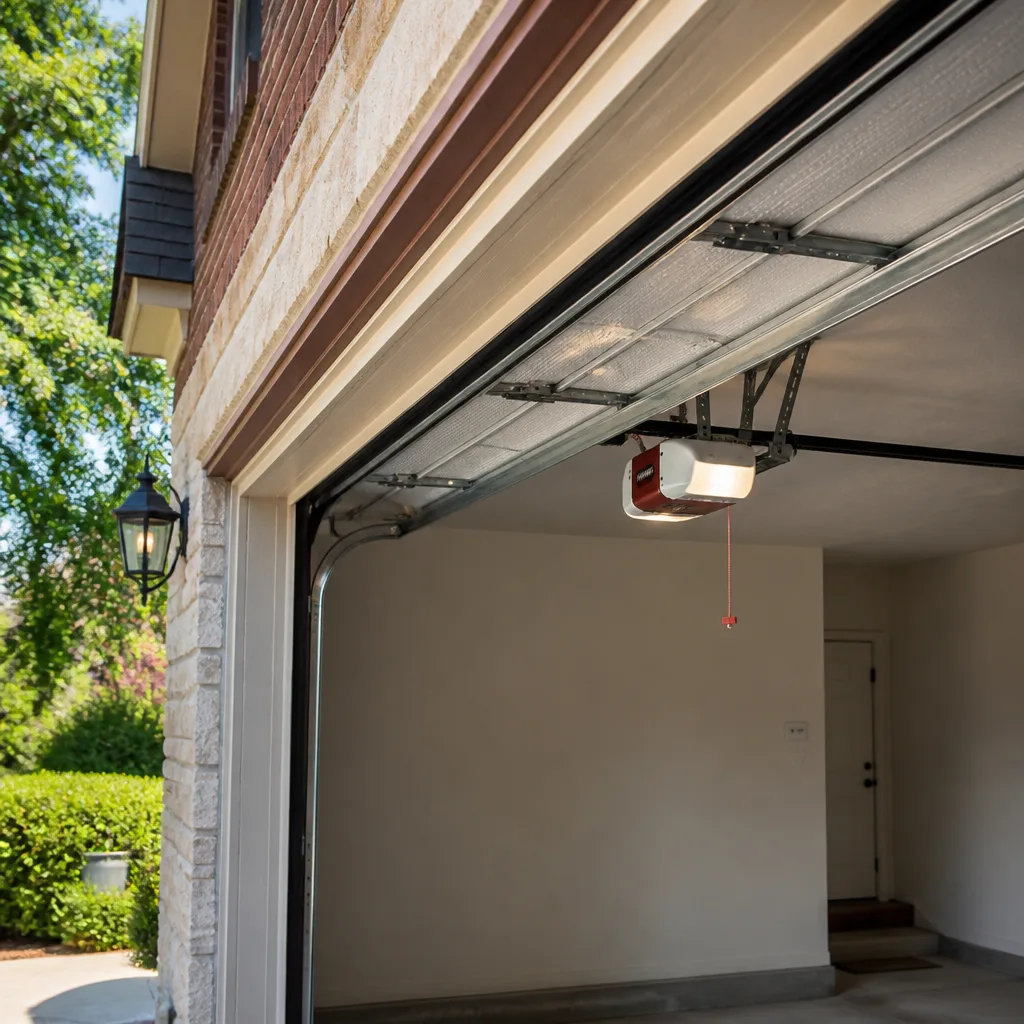 LiftMaster openers
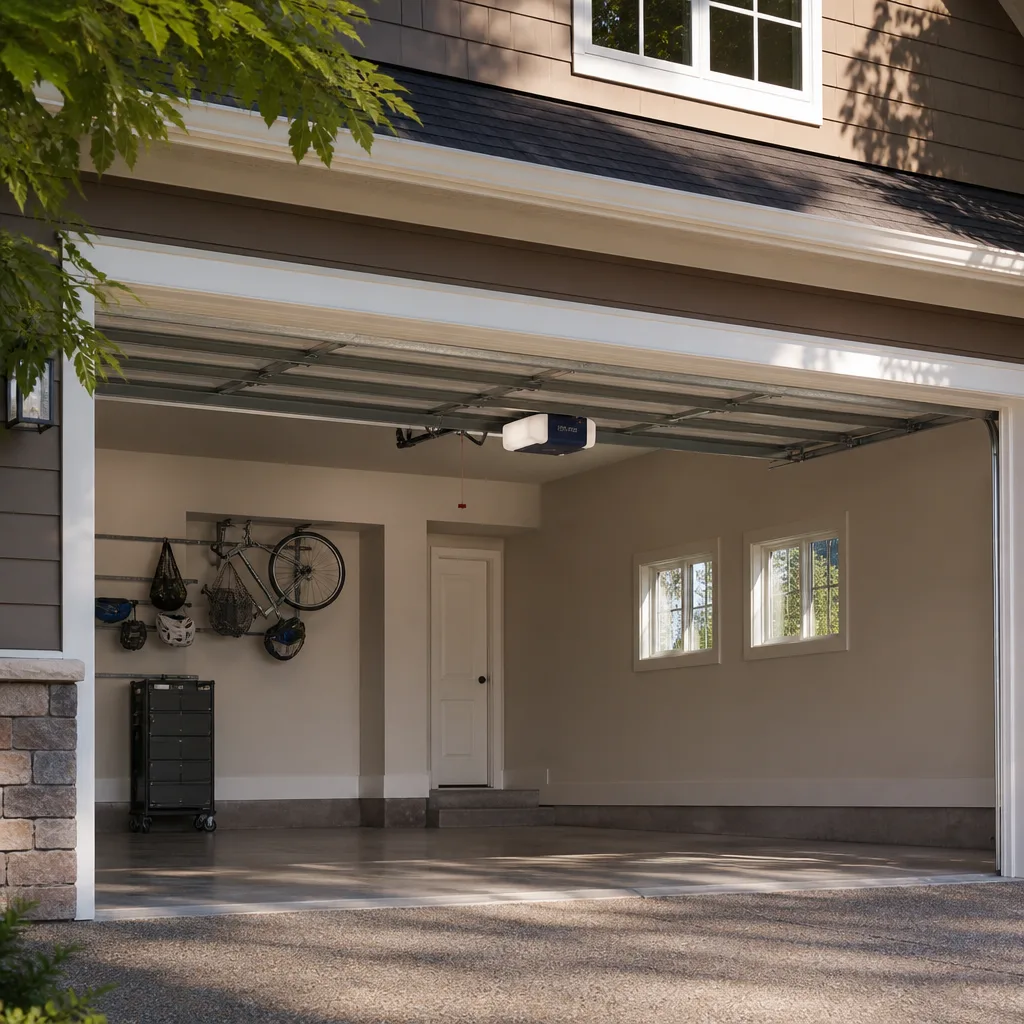 Chamberlain openers
Full 25-point door and opener safety check with every visit - springs, cables, rollers, tracks, and your LiftMaster or Chamberlain opener included
You get a price before we start. It does not change when the truck arrives.
Get your free estimateDIY vs Professional Garage Door: The Valencia Homeowner’s Decision Guide
The garage door is the largest moving object in most Valencia homes, and it’s one of the few household systems where a failed repair attempt can send someone to urgent care. A torsion spring under tension doesn’t warn you before it lets go. It doesn’t bend gradually. It releases stored energy in a fraction of a second, and whatever is in the way absorbs that force. This guide isn’t about whether you’re handy enough to work on your garage door. It’s about drawing a clear line between the tasks where DIY makes financial sense and the tasks where the physics of the system makes professional help the only rational choice. We’ll walk through every major component, what it costs to fix it yourself versus hiring a pro in Valencia, and where the California injury data says homeowners get hurt most.
Styles & brands we work with
- Raised-panel steel
- Carriage house
- Modern flush
- Full-view glass
- LiftMaster openers
- Chamberlain openers
Quick Answer
Most garage door maintenance tasks in Valencia are safe for a careful DIYer, but spring replacement, cable work, and opener logic board repair are professional-only jobs with injury and liability consequences that erase any upfront savings. If the job involves a torsion spring under tension, a lift cable, or a door coming off its track, call garage door repair at (833) 754-9103. You can confidently handle lubrication, sensor alignment, weatherstripping, and remote programming yourself with basic tools.
Table of Contents
- The Three Buckets: Safe DIY, Cautious DIY, and Professional-Only
- The Five Most Common DIY Garage Door Injuries in California
- Cost Comparison: When DIY Actually Saves Money in Valencia
- What Your Homeowner’s Insurance Says About DIY Spring Work
- The Right Tools and Their Actual Prices for DIY-Safe Jobs
- Why Valencia Garages Age the Way They Do
- Opener Work: The Electrical Line Most DIYers Skip
- Common Mistakes to Avoid
The Three Buckets: Safe DIY, Cautious DIY, and Professional-Only
The easiest way to make a bad decision about your garage door is to think of it as one project. It isn’t. It’s a system of at least a dozen distinct components, and the safety profile of each one is wildly different. We sort every garage door task into three categories, and the reasoning behind each classification matters more than the category itself. Here’s the full breakdown, based on the doors we work on across Valencia.
Bucket One: Safe DIY
These tasks don’t involve stored mechanical energy, don’t require specialized tools, and won’t injure you or damage the door if done slightly wrong. A homeowner with no prior garage door experience can complete any of these in under an hour. The key detail: none of these tasks involve removing or loosening hardware that’s under tension. The parts you touch are either cosmetic, in a state of rest, or low-voltage electronics. None of them can suddenly move a 150-pound door toward you.
- Lubricating hinges, rollers, and the opener rail with a silicone spray
- Cleaning and aligning the photo-eye sensors at the bottom of the door track
- Replacing the weatherstripping along the bottom of the door
- Reprogramming a remote or keypad that stopped pairing with the opener
- Tightening loose hinge screws or handle hardware
- Painting an interior door surface to match a home refresh
These are the jobs where DIY genuinely wins. The parts cost under $30, the tools are already in most households, and the downside of doing it imperfectly is that you redo it, not that you get hurt. If you have an older Chamberlain or Genie opener and the remote won’t pair, the manual actually walks you through the process clearly. We’ll say this plainly: if all your garage door needs is lubrication and a sensor wipe, you don’t need us. Do it yourself and save the service call.
Bucket Two: DIY With Correct Tools and Research
These tasks are physically safe but carry a real risk of property damage or functional failure if you improvise without understanding the mechanism. The dividing line here is tension. These jobs involve either the door’s weight and balance, or the opener’s drivetrain under load. You can do them, but only with the right tools, the patience to read the manual, and a clear exit plan for when a step goes wrong. This bucket includes tasks where a failed first attempt often means calling a professional anyway, which changes the cost-benefit math in ways we’ll quantify later.
- Replacing a worn-out remote or keypad that’s confirmed dead (not just unpaired)
- Adjusting the opener’s force and travel limits on a LiftMaster or Craftsman unit
- Replacing a broken hinge or roller that’s not under cable tension
- Installing a new weather seal kit that requires removing the bottom retainer
- Replacing the opener’s wall button or safety sensor if one is confirmed faulty
The reason these aren’t automatic DIY wins is the liability of a mistake. A roller replacement sounds simple until you realize some bottom rollers sit right next to the lift cable bracket. Remove the wrong bolt and the cable can slip, the door can drop on one side, and you now have a bent track and a door jammed half-open. That’s a $250 to $450 repair in Valencia’s market. The roller itself cost $8. That’s the exact scenario where careful research matters, and where calling Garage Door Repair Valencia for a free estimate before you start can save you from a bad afternoon.
Bucket Three: Professional-Only
These are the non-negotiables. Any task in this bucket involves stored mechanical energy, cable under load, or the electrical components of the opener that can damage the unit or create a shock hazard. This is not about skill. It’s about the failure mode. When a torsion spring snaps during removal, it doesn’t give you a corrected hand position. The released energy is measured in foot-pounds of torque, and your wrist, fingers, and face are the nearest absorbers. In our experience, the homeowners who call us after attempting these jobs aren’t stupid people. They’re people who didn’t know where the line was.
- Torsion spring replacement (the spring above the door that winds on a shaft)
- Extension spring replacement (the springs along the horizontal track)
- Lift cable replacement or re-spooling
- Door off-track repair
- Opener motor replacement or logic board repair
- Full door section or panel replacement
- Any repair requiring the door to be manually lifted with the spring disconnected
We’ll be direct about the spring safety issue because it’s the one that matters most. A torsion spring on a standard double garage door is wound to hold roughly 150 to 200 pounds of counterbalance force. That energy is always present. The spring isn’t relaxed when the door is open. It’s loaded differently, but it’s loaded. The only safe way to work on it is with hardened steel winding bars of the correct diameter, inserted fully into the winding cone, with the door braced, and with your body positioned out of the line of force. Professional technicians wear gloves rated for the task and have done this hundreds of times. Even then, a single slipped bar can cause a serious hand injury. For a homeowner, the risk-reward calculation simply doesn’t close. A spring replacement in Valencia typically runs $180 to $350 per spring in labor and parts, installed. The cost of an emergency room visit for a broken hand starts higher than that and goes up fast. We’re not trying to scare you. We’re giving you the specific reason this job is professional-only: the failure mode is injury, not inconvenience.
The Five Most Common DIY Garage Door Injuries in California
The Consumer Product Safety Commission tracks garage door injuries nationally, and California’s data reflects the same patterns at a scale that matters for Valencia homeowners. The five injury categories below aren’t rare edge cases. They’re the predictable outcomes of specific DIY tasks, and each one maps directly to a component we’ve classified above. The point of this section isn’t to make you afraid of your garage door. It’s to show you that the danger is concentrated in a few specific actions, which means you can avoid nearly all of it by simply not doing those actions.
- Spring-related crush and laceration injuries. This is the big one. Torsion spring attempts are the single most common source of serious garage door DIY injury in California. The classic pattern: a homeowner uses a screwdriver or an undersized rod as a winding bar, the cone slips, the bar becomes a projectile, or the hand holding the bar is driven into the door or track. The injuries range from deep lacerations that need stitches to crushed fingers and, in the worst documented cases, permanent hand damage. The specific tool mistake is using anything other than the two correctly sized winding bars. A screwdriver or a long Allen wrench will slip. It always slips.
- Falling door injuries during cable work. The lift cable is what the spring pulls on to raise and lower the door in a controlled way. Remove the cable while the spring is still loaded, and the spring’s entire counterbalance force is suddenly applied to a door with no cable to guide it. The result is a door that drops hard and fast, and the most common injury is a homeowner trying to catch or slow it. That’s how shoulders get separated and hands get pinched between panels. The cable shows its danger at the moment you think you understand it.
- Finger and hand pinch injuries at the panel joints. Sectional garage doors have gaps between panels that open and close as the door moves. A hand placed flat on the inside of the door while guiding it up or down can easily get caught when a panel angle changes. The force between two steel panels is far beyond what a hand can resist. Most of these injuries are crushing injuries to the fingertips or the fleshy part of the palm, and they happen during manual door operation when the spring is disconnected or broken. The safe hand position is on the door’s frame or handle, never on the panel faces.
- Photo-eye related entrapment injuries. When a homeowner disables or misaligns the photo-eye sensors to fix a door that won’t close, they’re removing the one safety system that prevents the door from closing on a person or pet. California has required automatic reverse systems on residential openers for decades, and a disturbing number of DIY injuries happen because someone bypassed a sensor rather than cleaning or aligning it. The injury here isn’t from tools. It’s from a door that closed on a child or adult because the sensor was deliberately defeated.
- Ladder falls from working above the door. Most opener and spring work happens at ladder height, and a surprising portion of garage door injuries are ordinary falls, not mechanical accidents. The pattern is consistent: a homeowner on a step stool or short ladder, reaching to manipulate a winding bar or opener component, loses balance when something releases. The fix for this one is simple and applies to every task in this guide: work from a stable ladder, never a chair or overturned bucket, and keep both feet planted.
What’s notable about this list is which tasks don’t produce injuries. Lubrication doesn’t. Sensor cleaning doesn’t. Remote programming doesn’t. The injuries are concentrated 95% in the professional-only bucket, which means the boundary we’ve drawn is doing what it’s supposed to do. You eliminate most of the risk by making the right classification decision before you pick up a tool.
Cost Comparison: When DIY Actually Saves Money in Valencia
The financial case for DIY garage door work is real for a small set of tasks and a trap for the rest. The trap works like this: a homeowner sees a torsion spring online for $70, assumes the job is just a spring swap, and doesn’t price in the tooling, the multiple trips to the hardware store, the time, or the probability of a failed first attempt. The actual cost of a failed DIY project in Valencia’s market is the retail cost of the parts you bought, plus whatever new damage you caused, plus the professional rate to fix the second, larger problem. Here’s the honest math.
Where DIY Saves Money
| Task | DIY Cost | Professional Cost in Valencia | Savings |
|---|---|---|---|
| Lubrication and minor maintenance | $15 to $25 for a can of silicone spray and a rag | $90 to $150 for a service call | $65 to $135 |
| Weatherstripping replacement | $20 to $40 for the seal and fasteners | $120 to $200 installed | $80 to $180 |
| Remote reprogramming | $0 to $15 for batteries if needed | $80 to $130 for a service call | $65 to $130 |
| Photo-eye cleaning and alignment | $0 to $10 for a rag and a level | $90 to $140 for a service call | $80 to $140 |
These savings are real and repeatable. A homeowner who handles the simple maintenance themselves in Valencia keeps three or four hundred dollars a year in their pocket. We’re a garage door company, and we’ll tell you the same thing. The service call fee for a lubrication visit doesn’t make sense if you’re willing to spend 20 minutes with a can of spray. Do the maintenance. You’ll extend the life of the door and keep the garage door opener repair bill from arriving early.
Where DIY Costs More
| Task | DIY Attempt Cost | Professional Cost After Failed DIY | What Went Wrong |
|---|---|---|---|
| Torsion spring replacement | $70 to $110 for the spring, plus $40 to $80 for winding bars you’ll use once, plus the cost of any injury treatment | $180 to $350 per spring, installed | The winding cone slipped, the spring unwound violently, or the door was dropped |
| Cable replacement | $25 to $50 for a cable set | $180 to $300 when the dropped door bends a track or panel | The spring was still loaded when the cable was removed, and the door fell |
| Opener motor or logic board | $100 to $250 for a board or motor, plus the cost of a meter and the risk of a misdiagnosis | $200 to $450 for a correct diagnosis and repair | The homeowner replaced the wrong part and the opener still doesn’t work |
| Track realignment | $20 to $60 for brackets and shims | $250 to $450 for a full track re-installation | The door binds harder after the “fix” and damages the rollers and hinges |
The pattern is consistent. The jobs where DIY saves money are the ones that don’t involve the spring, the cable, or the opener’s internals. The jobs where DIY costs more are exactly the ones we’ve flagged as professional-only. This isn’t a coincidence. The professional-only tasks are professional-only partly because the failure mode creates secondary damage that’s more expensive than the original job. You don’t just pay for the spring. You pay for the bent track and the cracked panel from when the door dropped. The written estimate is the price we agree on before work starts, so the number doesn’t change mid-job. That predictability is part of what you’re buying when you hire a professional in Valencia.
What Your Homeowner’s Insurance Says About DIY Spring Work
Most homeowners never read the full text of their insurance policy until a claim is denied. The section that matters for garage door work is the one about homeowner negligence and unpermitted modifications. Here’s the part that catches people off guard: if a DIY spring installation fails and causes property damage, the insurer doesn’t automatically deny the claim because you did the work yourself. They deny it or reduce it if the work was done so far outside standard practice that it constitutes negligence. Installing a torsion spring with a screwdriver instead of winding bars meets that standard in the eyes of most adjusters.
The practical scenario works like this. A Valencia homeowner replaces a torsion spring on a Saturday using a rod from a jack handle. The spring seats incorrectly. Two weeks later it pops off the cone, whips into the ceiling, and damages a plumbing line that then leaks and destroys drywall. The homeowner files a claim. The adjuster asks who installed the spring. When the answer is the homeowner, the adjuster checks the policy language around self-performed maintenance. If the policy contains a clause about work that doesn’t meet manufacturer specifications, the claim can be reduced or denied outright. The homeowner now has a $4,000 plumbing and drywall bill on top of the original spring job that they saved $200 on.
The second insurance angle is liability. If a homeowner’s DIY spring repair fails and injures a family member or a neighbor who was helping, the medical cost lands on the homeowner’s personal liability coverage. If the insurer determines the injury resulted from negligent work, the homeowner faces a potential rate increase or a claim denial. This is the policy language most people never read: your insurance covers accidents, not the foreseeable consequences of doing a job incorrectly with the wrong tools. We work with insurance adjusters on these scenarios regularly. The homeowner who calls us first never has this conversation. The homeowner who calls us second, after the spring let go, usually does.
The Right Tools and Their Actual Prices for DIY-Safe Jobs
If you’re going to handle the safe DIY tasks yourself, you need the right tools, and the good news is that most of them are already in a standard Valencia toolbox. The full list below covers everything you’d need for the maintenance tasks in Bucket One and the cautious tasks in Bucket Two. The total cost, if you’re starting from zero, is under $100. Compare that to a $90 service call for lubrication and the math speaks for itself. Here’s the exact list, priced at typical Valencia-area hardware store rates.
- Silicone spray lubricant: $8 to $15 per can. One can lasts two to three years of twice-yearly maintenance. Use it on hinges, rollers, and the opener rail. Never use WD-40 for this. It’s a degreaser, not a lubricant.
- 6-foot or 8-foot step ladder: $40 to $80 if you don’t own one. Stable, with a non-slip base. A step stool is not safe for opener work.
- Socket set with 3/8-inch drive: $25 to $50 for a basic kit. Covers most hinge and bracket bolt sizes on residential doors.
- Needle-nose pliers: $10 to $15. Useful for removing cotter pins and stubborn sensor mounting clips.
- Torx bit set: $8 to $20. Many LiftMaster and Chamberlain opener covers use Torx screws, not Phillips.
- Level: $10 to $25. For checking door balance and sensor alignment.
- Clean rags and a bucket: $0 to $10. For wiping down tracks and springs before lubrication.
What’s not on this list is just as instructive as what is. There are no winding bars, because those are professional-only tools for professional-only work. There’s no spring gauge or cable puller. The tool list for safe DIY garage door work is deliberately boring. If a YouTube video tells you to buy a specialized spring winding tool to do your own spring job, the video is telling you to cross the line. Close the video and call us instead. We answer 24/7 at (833) 754-9103, with fast dispatch from 7am to 7pm, Sunday through Friday.
Why Valencia Garages Age the Way They Do
Valencia’s climate does specific things to garage door hardware, and understanding those patterns helps you make better maintenance decisions. The valley heat in July and August is the dominant factor. Steel doors absorb direct afternoon sun, and the surface temperature of a west-facing door can climb well past what’s comfortable to touch. That heat expands the metal panels, which stresses the hinge points and the brackets where they attach to the door. The stress eventually shows up as hairline cracks around the hinge bolts, not in the hinges themselves. That’s the failure mode we see most often on Valencia doors that are 15 to 20 years old.
The dryness is the second factor. Valencia gets very little rain, which is good for preventing rust but bad for lubrication. Silicone lubricant doesn’t wash away quickly, but it does dry out, and the heat accelerates the drying. A door that was lubricated in the spring often has dry rollers by late summer. The fix is simple: lubricate every six months, not once a year, and use a silicone-based product rather than a petroleum grease that turns thick in the heat. This is a DIY-safe task, and it takes 20 minutes.
The third factor is specific to the neighborhood’s housing stock. Many Valencia homes were built in the 1990s and early 2000s, which means the original garage door openers are now 20 to 25 years old. A Chamberlain or Genie opener from that era has a chain or belt drive that’s worn, and the logic board is operating on components far past their design life. The opener often fails before the door does. That’s why we treat opener repair as a distinct specialty in Valencia. The failure patterns on a 20-year-old opener board aren’t the same as the patterns on a five-year-old unit, and the fix requires brand-specific diagnostic knowledge, not a generic parts swap.
The last thing worth knowing: Valencia’s temperature swings between the hot afternoon and the cooler overnight hours cause the metal in the spring to expand and contract daily. That’s a normal part of the material’s life, and it’s why springs have a rated cycle count rather than a rated year count. A spring on a Valencia door that’s opened four times a day hits its cycle limit in roughly seven to ten years. That’s not a defect. It’s just the math. When the spring breaks, it’s a professional-only job, and the good news is that a replacement spring rated for more cycles than the original is often available for a modest price difference. Ask us about cycle ratings when you’re getting the estimate.
Opener Work: The Electrical Line Most DIYers Skip
Garage door openers have two distinct failure categories: mechanical and electrical. The mechanical side is straightforward. A worn gear, a stretched chain, or a stripped sprocket is visible and diagnosable. The electrical side is different. A logic board on a modern LiftMaster or Chamberlain opener is a dense circuit board carrying low-voltage signals from the wall button, the remotes, and the safety sensors. When something goes wrong on that board, the symptoms are often indistinguishable from a mechanical failure or a programming issue. The opener won’t respond, or it starts and stops randomly, or the lights blink in a pattern that’s supposed to mean something.
The DIY mistake we see repeatedly is a homeowner replacing the mechanical parts when the problem is electrical. They put in a new gear and the opener still chatters. They replace the chain and the motor still strains. The issue was a failing capacitor or a burned trace on the board, and no amount of mechanical work will fix an electrical fault. The reverse mistake happens too: a homeowner buys a new logic board for $180, installs it, and the opener still doesn’t work because the actual problem was a stripped nylon gear. The diagnostic step is the hard part, and that’s where multi-brand experience matters. A technician who works on Chamberlain and Genie and LiftMaster units every week can identify the failure pattern in minutes.
The safety line here is straightforward. Working on an opener’s internals means opening a unit that’s plugged into a 120-volt circuit. Unplug it first, always, and don’t work on the board with the unit energized. The bigger issue is that a misdiagnosed opener problem often leads to a homeowner disabling the safety sensors to force the door closed. That’s the step that turns an inconvenience into a hazard. If your opener isn’t working, and you’ve already checked the outlet and the power cord, call garage door opener repair before you start swapping parts. The free estimate is cheaper than a second wrong part, and the phone call is free.
Common Mistakes to Avoid
Every one of these mistakes shows up in our work across Valencia. They’re not hypothetical. They’re the things that turn a $20 maintenance job into a $400 repair, or a safe afternoon into a trip to urgent care. Read them as a checklist of what not to do.
- Using WD-40 to lubricate the door. WD-40 is a solvent and water displacer, not a garage door lubricant. It strips away the existing lubricant and leaves the metal dry within days. Use a silicone spray or a purpose-made garage door lubricant on the hinges, rollers, and spring. It’s a $10 fix that prevents a $200 roller replacement.
- Touching the torsion spring with any tool other than proper winding bars. This is the mistake that produces the injuries in the data. A screwdriver, a pry bar, an Allen wrench, or a length of rebar is not a winding bar. It will slip out of the cone under load. The energy release is sudden and uncontrolled. If you’re anywhere near the spring with a tool that wasn’t made for the job, you’ve made the mistake. Stop.
- Disconnecting the safety sensors to make the door close. The sensors are there to prevent the door from closing on a person or a pet. Disabling them to work around a wiring fault or a misalignment is bypassing a safety system that has been a federal requirement for decades. If the door won’t close and the sensors are clean and aligned, the problem is elsewhere. Call a professional rather than forcing the issue.
- Replacing a spring with the door in the raised position. Some homeowners assume the open door means the spring is relaxed. It isn’t. The spring is under different load but still under load. Replacing a spring with the door up is how doors fall and cables whip. The door must be braced and the spring unwound correctly, with the right tools, by a professional.
- Ignoring a door that’s slow to open or closes unevenly. A door that’s suddenly slower or binds on one side is communicating a problem. It might be a failing spring, a frayed cable, or a bent track. Waiting until the door stops opening entirely means the repair is now an emergency, and a dropped door can damage the panels and the track. The early warning is cheap to address. The failure is not.
- Working from a step stool or a chair instead of a proper ladder. The ladder fall injury data from garage door work is consistent, and the common thread is unstable working height. A step stool with one foot on the door frame and one on the stool is a fall waiting to happen. Use a stable ladder with a solid base, and keep your center of gravity over the rungs.
- Buying parts by price alone online without confirming the model match. A torsion spring has specific dimensions, wire gauge, and wind direction. Buying a spring off a marketplace site because it looks right and costs $40 is how you install the wrong part and create a new safety hazard. The part number matters. If you’re unsure, the written estimate from a professional in Valencia includes the correct part for your specific door model.
When to Call a Professional
If the door is making grinding noises, the spring has snapped, a cable is frayed, or the door is leaning to one side, those are professional-only conditions, and continuing to operate the door will make the repair more expensive. Same with an opener that shows power but won’t respond logically. The specific scenarios where you should stop troubleshooting and call are: a visible gap in a torsion spring, a door that falls quickly when released, any cable that’s off the pulley, and a door that’s binding hard enough to strain the opener motor. For any of these, call Garage Door Repair Valencia at (833) 754-9103. We answer 24/7, fast dispatch from 7am to 7pm, Sunday through Friday. The estimate is free, and the price is agreed in writing before the work starts.
Frequently Asked Questions
No, not safely. A torsion spring holds enough stored energy to cause a bone-breaking injury if it releases while you’re working on it. The winding bars required are specialized tools that most homeowners don’t own, and the failure mode when a bar slips is sudden and unforgiving. Spring replacement in Valencia typically costs $180 to $350 per spring installed, and the injury risk isn’t worth the savings on a job that professional technicians still treat with respect. Call (833) 754-9103 for a free estimate.
Lubricating the hinges and rollers, cleaning and aligning the photo-eye sensors, replacing the bottom weatherstripping, and reprogramming a remote or keypad are all safe DIY tasks. None of these involve stored spring energy or the opener’s electrical internals. The total tool investment for these jobs is under $100, and they save you $80 to $150 per service call in Valencia’s market.
Typical repair costs in Valencia range from $90 to $150 for minor maintenance to $180 to $450 for spring, cable, track, or opener repairs that involve significant parts and labor. A full door replacement runs higher and is quoted per job. The written estimate sets the final price before work starts, so the number doesn’t change after the technician arrives. Call for a free estimate and an exact quote for your situation.
Not always. If a self-performed spring or cable repair fails because the work didn’t meet standard safety practices, the insurance company can reduce or deny the resulting property damage claim. Liability claims from injuries caused by negligent DIY work can also be contested. The policy language matters, and many homeowners never read it until a claim is in front of an adjuster. Hiring a licensed professional shifts that liability off your hands.
We work on what you already have. Our technicians are trained across LiftMaster, Chamberlain, Genie, Clopay, and other major residential brands, which means we diagnose the specific opener in front of us rather than steering toward a replacement that benefits our margin. The recommendation follows the problem, not a dealer arrangement. Call (833) 754-9103 and describe the symptom. We’ll tell you honestly whether it’s a mechanical issue, an electrical fault, or a programming problem.
We answer 24/7. Fast dispatch from 7am to 7pm, Sunday through Friday. Same-day service is available for urgent repairs during dispatch hours, and a call outside those hours is booked into the next opening. The phone is always answered, and the estimate is always free. If the door is stuck open or won’t close, call (833) 754-9103 now.
The Bottom Line
The DIY-versus-professional decision for a garage door isn’t a general question about your competence. It’s a specific question about the component in front of you. Handle the maintenance tasks yourself: lubrication, sensor cleaning, weatherstripping, remote programming. Those are safe, cheap, and satisfying. Leave the spring, the cable, the track, and the opener’s electrical work to a professional. The line is drawn by physics, not by pride, and the homeowners who make the right call on this side of it save money on both sides. The free estimate costs nothing to get, and the price is agreed in writing before work starts. Call (833) 754-9103 for a straight answer and a clear plan. We answer 24/7, and dispatch runs 7am to 7pm, Sunday through Friday.
Written by the team at Garage Door Repair Valencia, serving Valencia since 2011.
See the difference
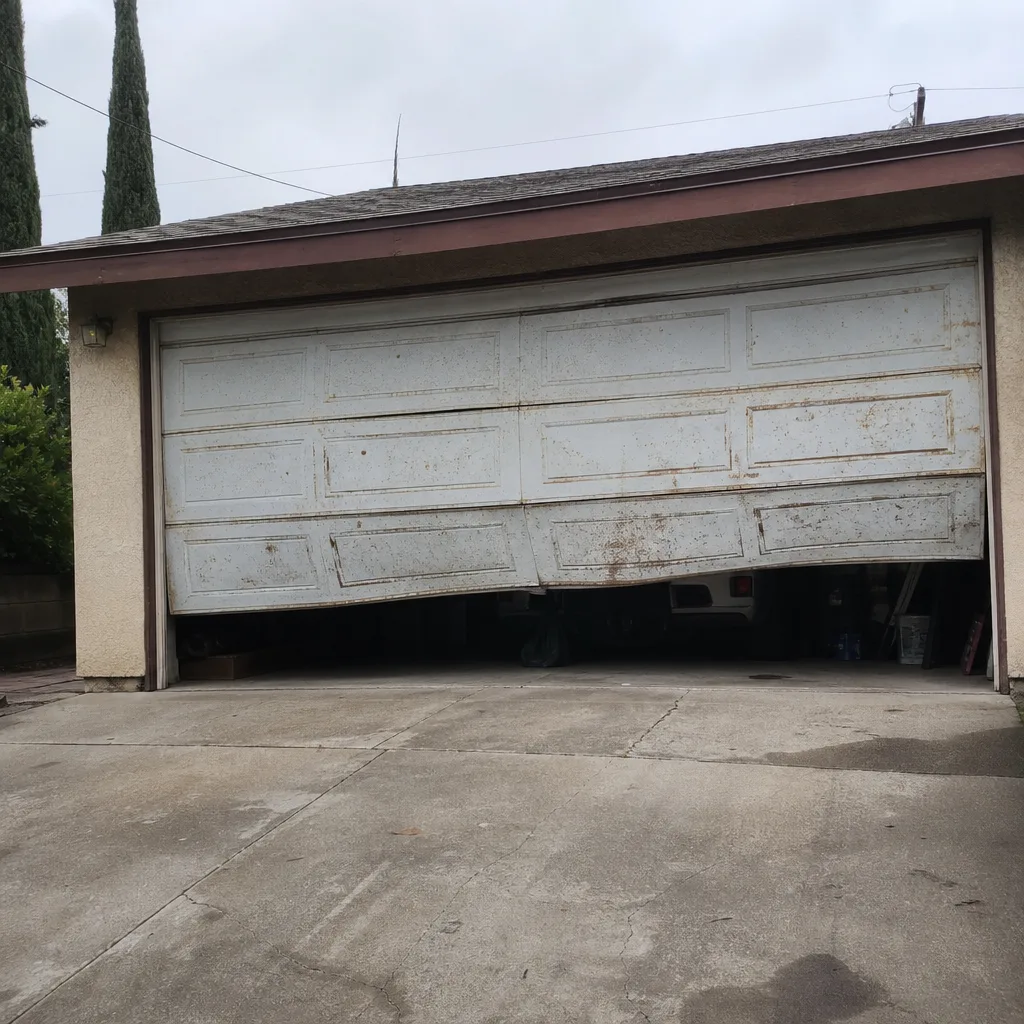 Before
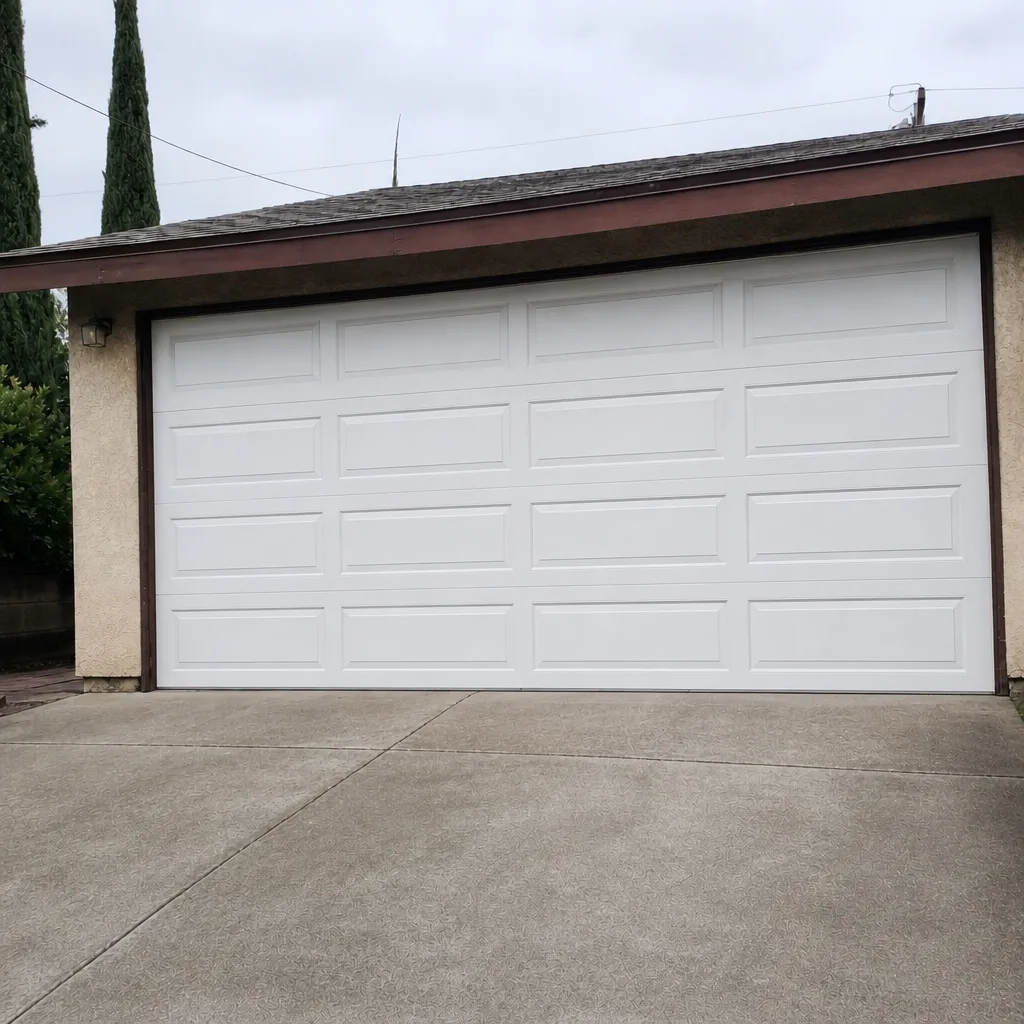 After
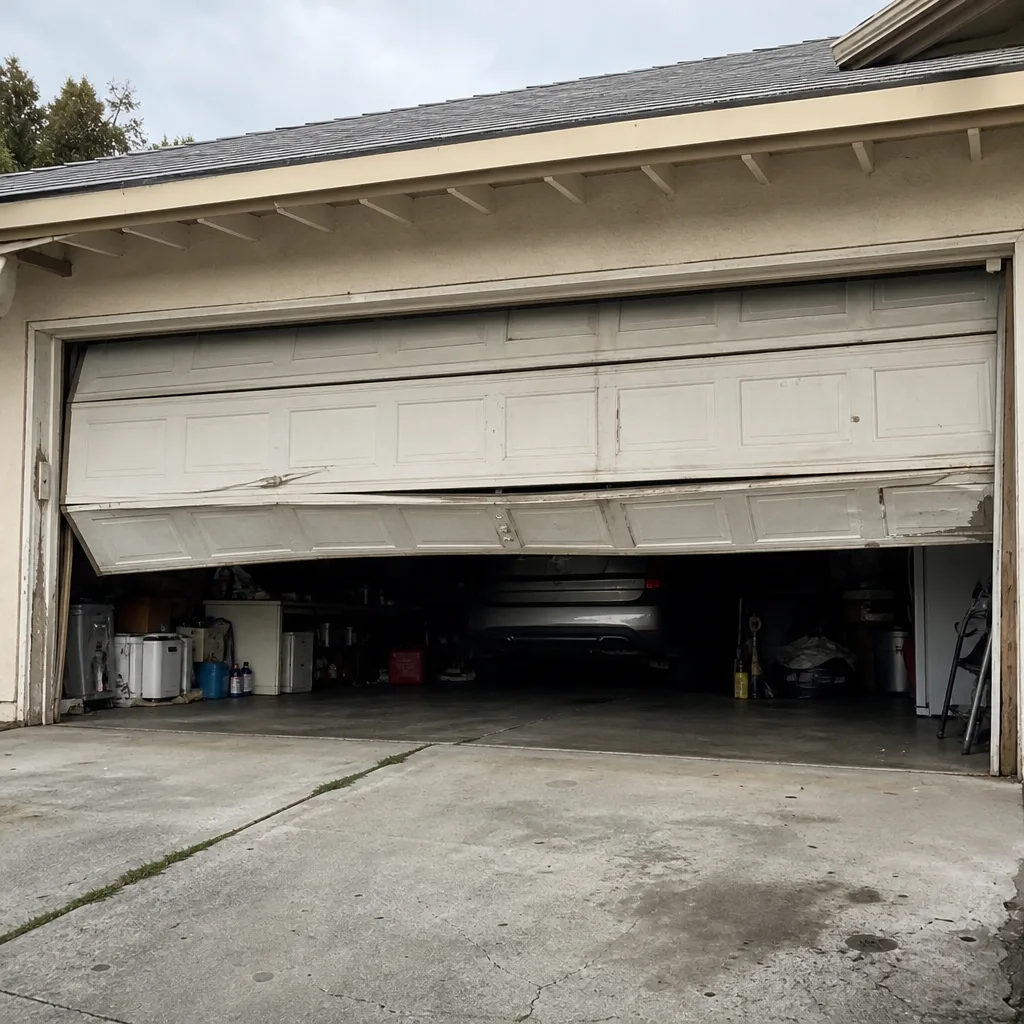 Before
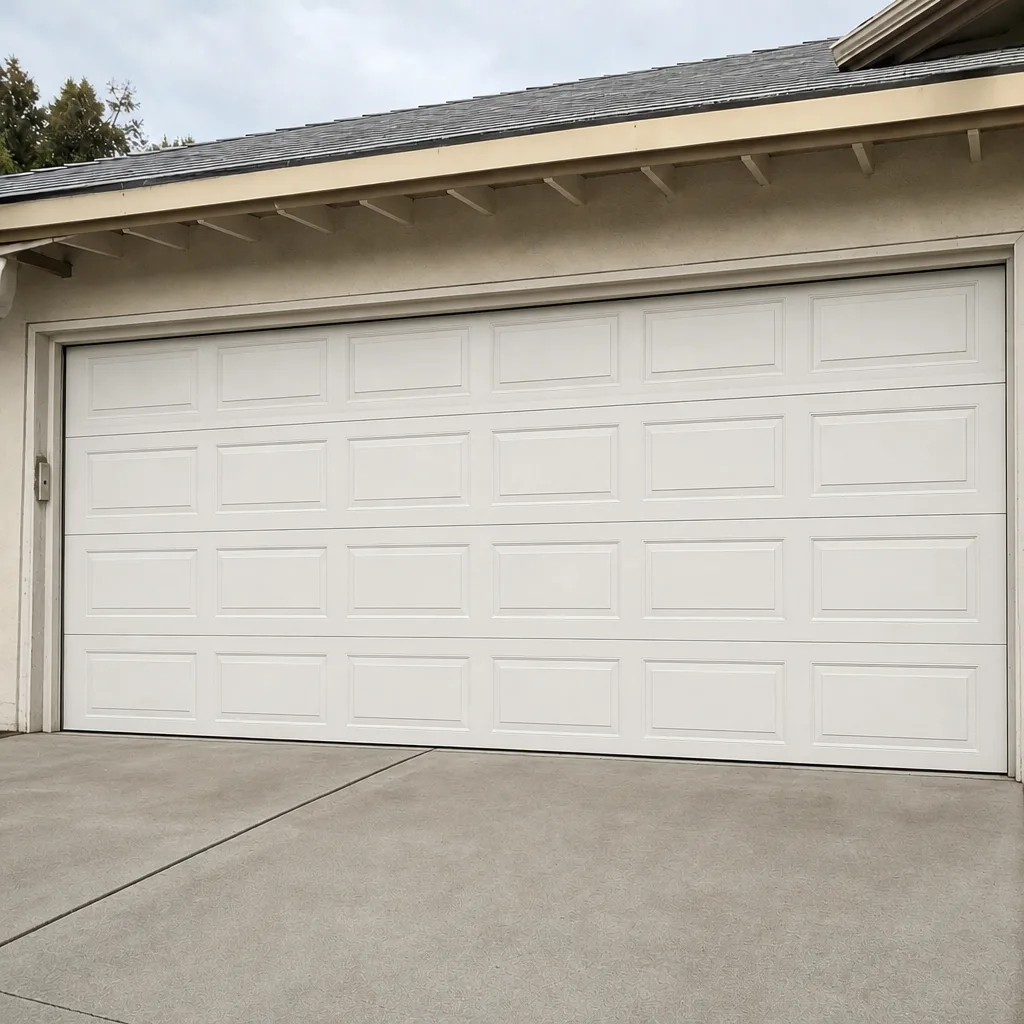 After
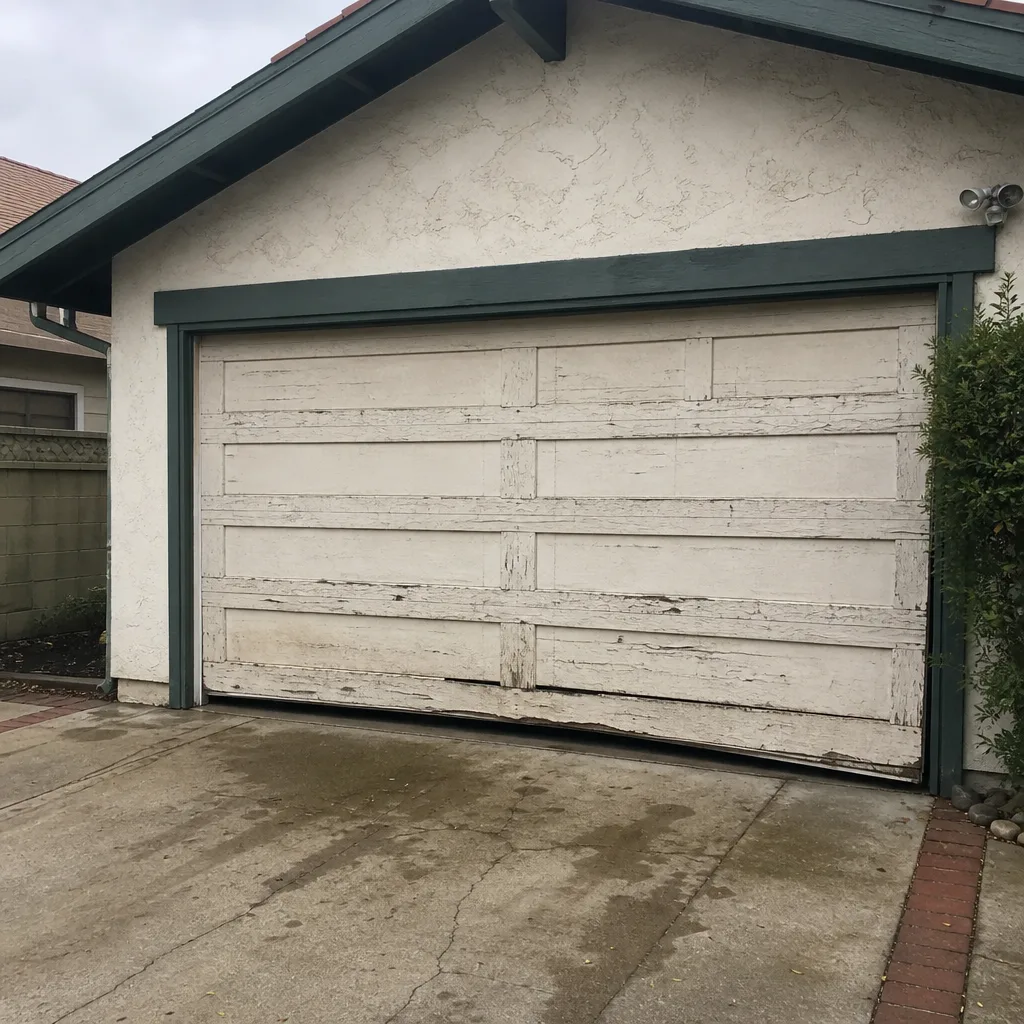 Before
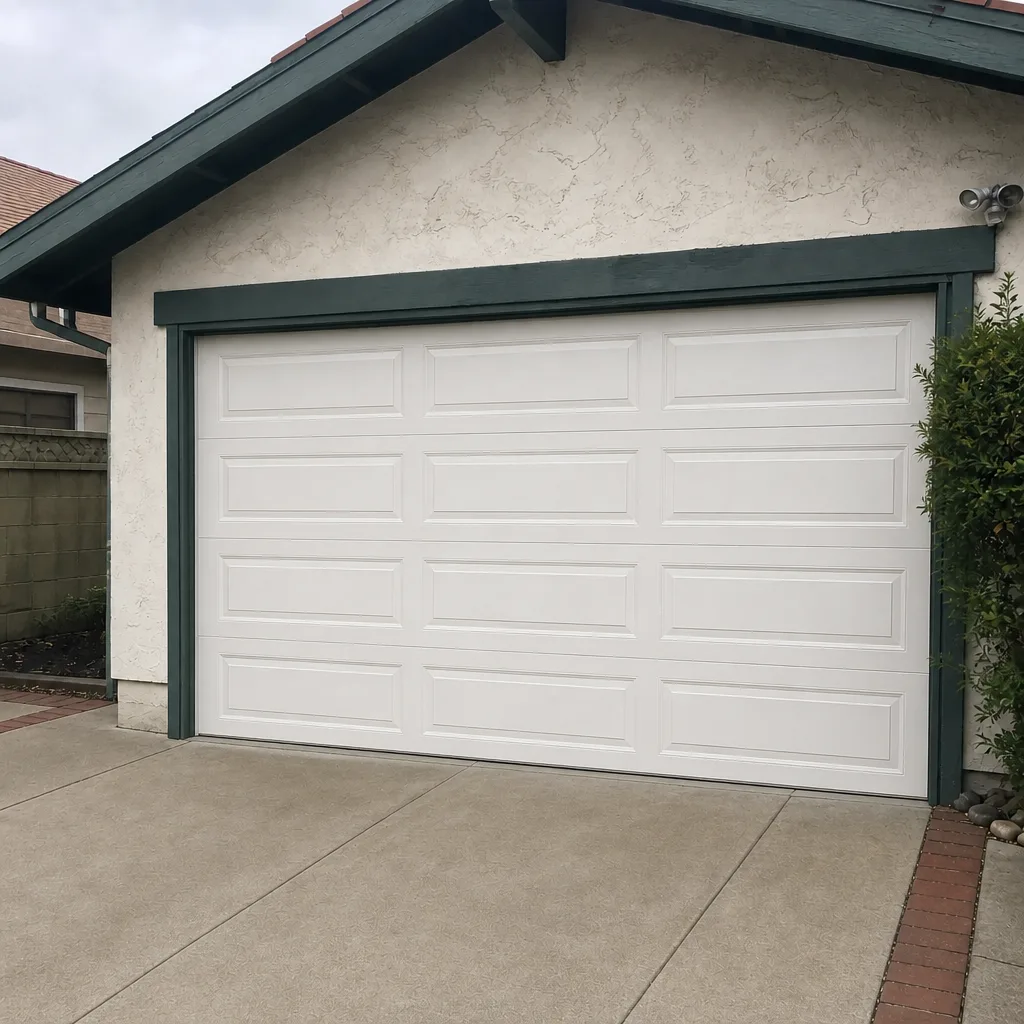 After